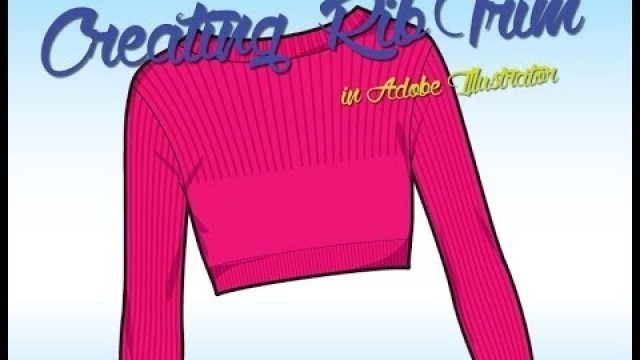

'Need to create rib trim for your apparel flat sketches or accessories designs? Don\'t we all! In this illustrator tutorial, I\'ll show you how to use the Blend Tool to create rib that needs to curves and fills an object. This video is the last of our 3 part video series on creating rib trim in Adobe Illustrator. Check out Methods 1 and 2 as well. Method 1: https://youtu.be/dhLD1gGUj9A Method 2: https://youtu.be/8CTFInZTpyc Did you enjoy the video? Let me know what you think in the comments below. Or suggest a topic or question, and it may become our next video quick tip! Wanna see more fashion design tutorials and videos like this? SUBSCRIBE NOW: https://www.youtube.com/user/383design Need more training or a class? Visit our website and take an adobe for fashion class with us: http://www.383designstudionyc.com Let\'s Be Social: Website: https://www.383designstudionyc.com/ Instagram: https://www.instagram.com/383design/ Twitter: https://twitter.com/383design Facebook: https://www.facebook.com/383designstudio Google+: https://plus.google.com/+383designstudio -~-~~-~~~-~~-~- Please watch: \"Using the Tilde Key in Adobe Illustrator with Fashion Sketches\" https://www.youtube.com/watch?v=9WNNQgj3EH4 -~-~~-~~~-~~-~-'
Tags: fashion , how to , Design , illustrator , Software , adobe , flat sketch , fashion drawing , digital , drawing , fashion sketches , illustrator tutorials , adobe for fashion , cad fashion design , rib trim , how to use blend tool in illustrator on garments
See also:










comments