
11:42
Nov 14, 2021
3
3
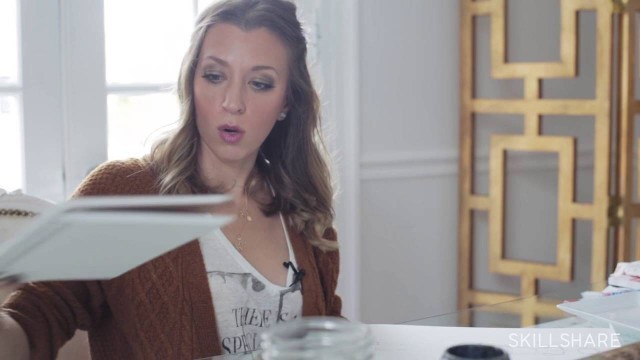
'DRAWING COUTURE CLASS - Day 1 by Dallas Shaw, Fashion illustrator/style expert. In addition to partnering with top designers and fashion houses for illustrations and concept development, Dallas has appeared in numerous publications, advertorials, and shopping sites offering personal style picks, expert advice, and industry knowledge. But her enviable client list and high-demand status does not lessen her love for staying connected and sharing her inspirations with fashion fans across the globe through her extremely popular personal style blog, Twitter, Pinterest, and Instagram. Her followers are made up of creative women, editorial staff, and fashionistas who all turn to her blog and social pages for her trusted opinion and stamp of approval on trends, products, and advice when shopping online and in stores. Supplies Gather supplies watercolor paper, pencil, sharpener, eraser. Determine direction Ask client about clothing and styling details. If you aren\'t working with a client, pull a photo or concept that you would like to illustrate. Sketch clothing According to the way the clothing fits in the photos, make sure the drawing is representative. Notice where the pieces fall on the woman\'s body. Add accessories if the client (or you) has requested them. Add hair in style you think is most appropriate for the look you are going for. Create outline for the fashion figure Lay down your basic shapes to represent the figure\'s parts. Start with the head, go into the neck, and then use simple straight lines for the shoulders and torso. It will end up being an hourglass shape. Keep in mind that the fashion figure will be thinner than normal because you will end up putting clothes on her. When you have a full fashion figure, clean up any unwanted sketch lines with an eraser before moving to add clothing. Add in facial features Using guidelines we have already created, add in the facial features. I demonstrate a super simple way of spacing out the features in the video.\" Applying Color Gather supplies. Gather additional supplies and add them to your current supplies. You\'ll need water, a set of watercolor paint, paintbrushes, and a rag in case of a mess. Paint the skin tones Dip paintbrush in water and then into color you are using for skin-tone (you can practice mixing colors on your plate before mixing). Mix the skin tone to your desired color and then apply it sparingly to the fashion figure. It is best to start with a more diluted color at first (more water) and then add ink as necessary. Make sure you move in quick brush stroke to control the water color to the best of your ability. Careful, it can run on ya! Add in shading Add in more saturated color for shading to give it a three dimensional look. Use the darker shade for the shadows, then let the water fill in the highlights. You can always make the shadows a little more extreme by adding more ink. Coloring the Hair Mix your colors until you find the tone that you like. Add it to her hair. If your figure has her hair down, the darker spots will normally be underneath her ears and behind the neck. Make sure to keep the strokes separated, as that will give you the texture of the hair. Strokes that are too close together will wash through together and you will lose this texture. Mixing shades into the hair continues to add to that texture and adds some nice interest. You can also bring some of these tones into the shads of the face. Coloring the Clothes When coloring something white, allow the paper to come through the piece and only accent the shadows. To give a garment a more saturated color, use more watercolor ink rather than spreading it out with water. This will keep the concentration of color a lot higher. Have fun with the shoes! It is a nice place to add interest and let\'s face it… girls love shoes! Make sure to let it dry before adding any more details. Finalizing the Illustration Grab remaining supplies. Gather more supplies colored pencils (I use prismacolor), thin black ink pens. Selecting colored pencils Look at colors you choose in unit 2 and select those same colors in pencil, but in a shade darker. Start shading Shade each garment, hair and flesh using the pencil in a shade darker. Shade where shadows would hit naturally. Outline the illustration Using a thin black ink pen or marker, lightly outline any areas you\'d like to stand out. Add Signature to Finalize! Sign your piece with pride! Courtesy of : https://www.skillshare.com/'See also:



!['MEN’S Clothes for All Seasons by Toshio Kaneko[Japanese sewing pattern book]'](https://cdn-img01.fashionvtube.com/images/53-m/756/756114_m.jpg)









comments